Monday, November 21, 2011

Big Girl Birthday Bag

Emma was invited to a birthday party by one of the little girls in her preschool class.  I was scheduled to be out of town on a girls' weekend, which left my hubs here to handle the Build-A-Bear Birthday Bash experience solo.    In those fleeting hours prior to my big departure, instead of packing and planning, I was quickly sewing together this little tote bag for the birthday girl.  We all know that inspiration has impeccable timing.  :-)

I used a tutorial from Randi at I Have To Say.  You can find it on her sidebar.  Her directions were super easy to follow, and this bag was a snap.  I followed her instructions (mostly) as written.  (I adjusted the size slightly, pieced a few of my panels to make my fabric scraps work, gusseted the corners in the bottom of the bag, and added some yo-yo embellishments.)  Minor adjustments like those are easy to do using Randi's simple and clever pattern as a base.

I will also add that Randi has a WONDERFUL online fabric shop called Fresh Squeezed Fabrics.  Her customer service is outstanding and she always has a great selection of fabrics available.  I don't know her personally, but I am a long time reader and I love her blog.


Anyway, I filled the bag with a little gift and sent it, my girl, and her Daddy off to the mall to build a bear while I headed to a craft fair in Tulsa with a friend.


We didn't see many actual crafts at the craft fair.  There was a lot of clothing and jewelry, but not a ton of homemade items.  It got me thinking about the potential for my own booth at a craft fair in the future.

Could I build up enough inventory?
Would I be able to make any profit?
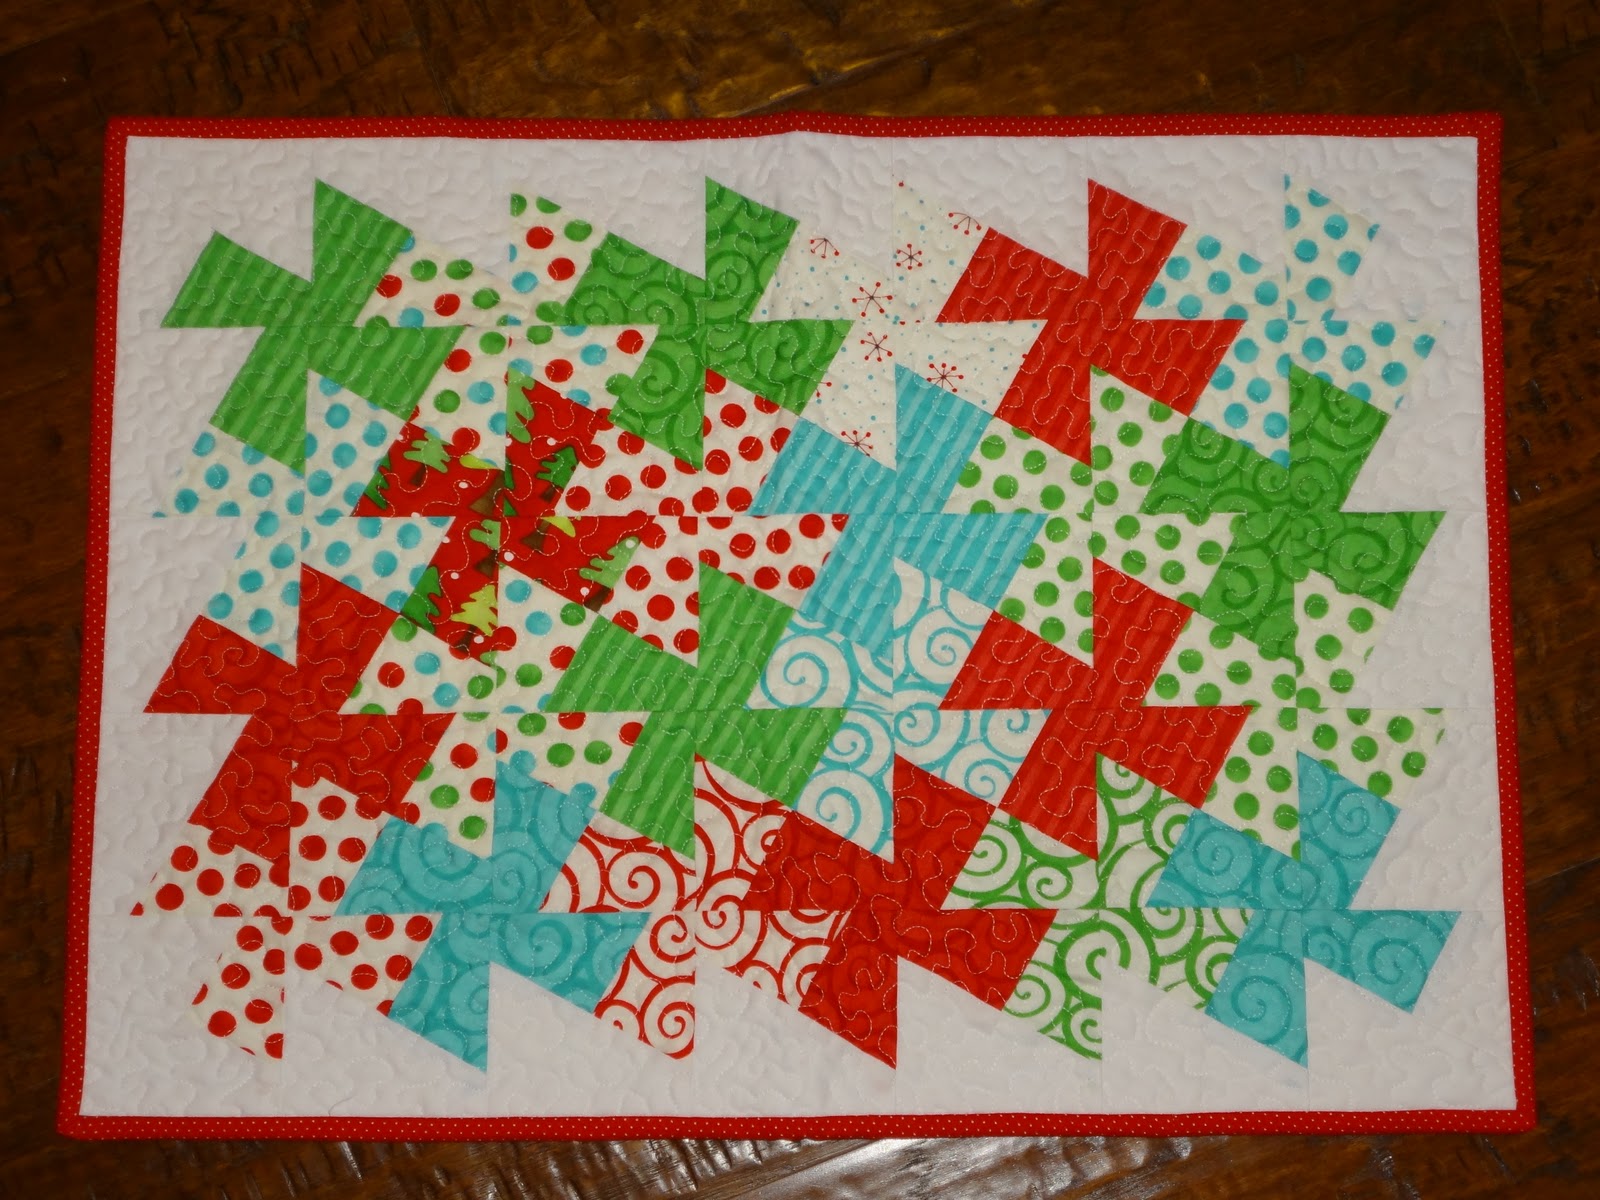
Is there a market for quilted bags, runners, and other small items?
And, most importantly...
Would sewing stay fun if it became a "job"??

Thoughts to noodle.

Wednesday, November 16, 2011

Some Non-Sewing Crafting Going On


I figure since this space has been a little quiet lately I should offer up some proof that there are still crafty things happening in life....just not as a result of time spent at the machine.  I chuckle when I read about all the "secret" sewing that others are doing in preparation for the holidays.  Wish that was me!  I have many ideas, and certainly a hearty list of worthy recipients, but since my pumpkin needed fancy earrings and a fetching hairdo I have not had time to even think about holiday sewing.  :-)

Then, there was the matter of this adorable Little Strawberry who brought a note home from three-year-old-preschool announcing the derby car races to be held last week.  Derby cars are a tall order for a three year old to fill, so she clearly needed a little assistance.  Her request was surprisingly detailed and decisive; she wanted a TURKEY CAR.


And so it was.


I have not done any patchwork lately to speak of, but I have indeed fired several rounds from my glue gun, all while attempting in vain to ward off the cat, who thought Christmas had come early with all those feathers!!

We totally rocked at Derby Day.


Last week was also my one day out of the year to serve as parent volunteer at preschool, so I felt the pressure to make snack time a mid morning festive dining experience.  Ha!  I'm a little competitive when it comes to being the parent volunteer.  :-)  Can you tell she's my late-in-life baby??


And what's a great snack without a cool craft?


See? Busy!  Too busy to sew, but that's changing tonight.  I have a project in the works for a little birthday party surprise and I hope to have it finished up just in the nick of time.

So, how about you?  Holiday sewing?  Or holiday crafting??

Friday, November 11, 2011

In the Black - Yet Another BOM


I absolutely love signing up for block of the month clubs.  There is something so delightfully feasible about doing one small block every thirty days.  I love getting a little package that has every single thing I need to sit down and have fun for a few hours.

I (almost always) finish all my blocks for my block of the month projects.

It's putting them together in some form or fashion that always seems to hinder my BOM success.  The finishing kits are usually out of my budgetary reach, and my indecisiveness about settings and fabric choices have led to the infamous "block of the month drawer" in a hutch in my den.

No block to ever enter that drawer has ever come back out.

This rather dreary realization led me to declare that I was DONE with this block of the month silliness until I found the motivation to complete some quilts in waiting and empty that drawer.

UNTIL.....I walked into my LQS and fell completely in love with this year's block of the month.  And then I folded like a yard of quilter's cotton.  WORSE YET....I called up Wendy and lured her into the spider's web with me, because nothing beats breaking personal rules than doing so with a good friend.

And so it is.  Wendy and I are BOTH officially signed up for yet another block of the month.  We can drive to the LQS shop together on the first Saturday of every single month and remind each other how we really shouldn't be doing this and confirming that we're glad we are anyway.

So...there were two color ways to choose from.  Black or navy.  I chose black and Wendy went with navy.  I was really disappointed when I saw my first packet.  Not one single pretty fabric in the group!  Not one!  I delayed in getting my block assembled and convinced myself that this was indeed punishment for signing up in the first place.  In fact, I had the block in my van and drove around town with it for weeks intending to go exchange it for the navy version.  And then, something horrible happened which will forever be a hilarious memory attached to this quilt.

One of my children had an episode of van vomit.

Reading here is not for the faint of heart!  Ha!  You get the real life low down here at Lazy Daisy!

Don't worry, I'll spare you ALL the details, but suffice it to say my ugly BOM packet was.....inexchangable.  :-)  Don't you worry....the bag was very tightly sealed!  I promise I didn't touch any contaminated fabric.

Block #1 is officially completed, and you know what??  I actually really like how these fabrics played together.  Never would have guessed it.  It's my little reward for keeping my calm during a commuting catastrophe.

Okay....a final word.  When I was taught to quilt it was drilled in me to never, ever press seams open.  It's one of those "rules" I've always followed and never thought to question.  However, with more detailed construction such as this, I find it is very helpful at times to abandon with wild recklessness everything I've ever decided to be true.  (That's how I got into this BOM to begin with!)


Occasionally pressing seams open can help the block to lie much flatter and have a better finish.


I'm in for a whole year of breaking rules and having fun.  Here's to first Saturdays!

Wednesday, November 9, 2011

In A Twist

Fabric is Ready, Set, Snow! by Moda, and Kona white cotton
I have a new favorite tool-of-the-moment.  It's called a Lil'Twister, and I first learned about it in blog world.  I've been keeping my eye out, and when my LQS hosted a big sale, I was able to snag one at a nice price.  To make a project using this fascinating little ruler, you start by making a simple patchwork using 5 inch charm squares surrounded by a simple border.


Then the fun begins.  The little ruler has a grid that lines up perfectly with the seam lines on the patchwork.  The ruler has little rubber feet on it, so it does a mighty fine job of staying put!  I did find it slightly tricky to rotary cut around all four sides, and found my rotating cutting board to be very handy for this purpose.


I got so involved in making this addictive little thing that I completely neglected to photograph any more of the steps!  It's easy as pie...every square that you cut you line up in order and then resew in rows to create this really fun pinwheel design.

This is my finished project, machine quilted and bound in a red micro-dot.


There is hardly any waste at all when you use this tool, but I salvaged every bit of scrap and used it to cut small squares that I pieced together for the backing.  Once I rescued these squares there were literally only slivers of fabric left.  I mention that only because I had read a few remarks online about how this project is somewhat wasteful.  I really didn't find that to be the case, especially if you are patient enough to cut the final bits into squares.  The squares would also make a cute border on the front to increase the size of the project a bit.

I added some hand embroidery to the back of this...just freehanded a pattern using one of the fabrics as a guide.


Always have to have an ounce of handwork!


I really thought the tiny squares were a fun addition to the backing.


I used a fairly tight stippling pattern, so the finished project was rather stiff.  I liked that it had some durability.


I would make this again and again.  It went together fairly quickly and looks far more difficult than it is, in my opinion!  There are two books on the market containing patterns utilizing this tool.  I'd be curious to see some of the variations created by changing sizes and colors.  There is also a "jumbo" version of this tool available for use with layer cakes.  That would make a very quick lap quilt!

This size is perfect for a table topper, placemat, or wall quilt.


This little cutie was packaged and sent out to a friend of a friend...someone I don't know very well, but who I understand is having some hard times and thought might be blessed by a surprise in the mail.


If you would like to know more about this fun template, you can visit Country Schoolhouse at www.country-schoolhouse.com/twister_tool.htm.